Deploying the LAMP stack website in AWS Project Part -2

Hi Friends,
In the last blog, We learned how to install Ubuntu and install apache on EC2.In this blog, we are going to discuss how to install MYSQL and PHP.
INSTALLING MYSQL
Use ‘apt’ to acquire and install this software:

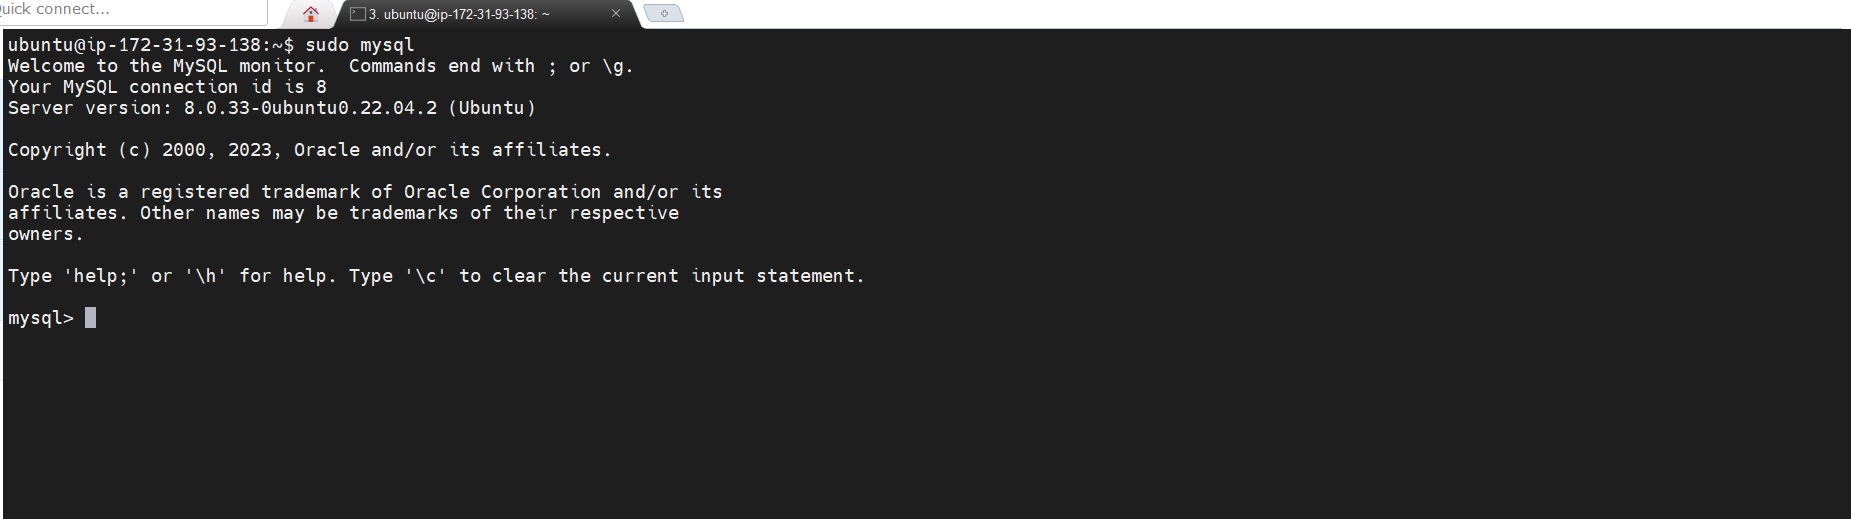
When the installation is finished, log in to the MySQL console by typing:
$ sudo mysql
Set a password for the root user, using mysql_native_password as the default authentication method.
ALTER USER 'root'@'localhost' IDENTIFIED WITH mysql_native_password BY 'PassWord.1';
Exit the MySQL shell with:

Now run the security script. Enter the below command.
sudo mysql_secure_installation
This script will remove some insecure default settings and lock down access to your database system.
Once installation is finished, test if you’re able to log in to the MySQL console by typing:
$ sudo mysql -p
-p will prompt for a password. Need to provide a password to connect the root user.

Our MySQL server is now installed and secured. Next, we will install PHP, the final component in the LAMP stack.
INSTALLING PHP
Now, we have Apache installed to serve your content and MySQL installed to store and manage your data. PHP is the component of our setup that will process code to display dynamic content to the end user. In addition to the PHP package, we will need php-mysql, a PHP module that allows PHP to communicate with MySQL-based databases. We also need libapache2-mod-php to enable Apache to handle PHP files. Core PHP packages will automatically be installed as dependencies.
To install these 3 packages at once, run:
sudo apt install php libapache2-mod-php php-mysql

Once the installation is finished, we can run the following command to check the PHP
version:

At this point, your LAMP stack is completely installed and fully operational.
Linux (Ubuntu)
Apache HTTP Server
MySQL
PHP
To test your setup with a PHP script, it’s best to set up a proper Apache Virtual Host to hold your website’s files and folders. Virtual host allows you to have multiple websites located on a single machine and users of the websites will not even notice it.
We will configure our first Virtual Host in the next step.
CREATING A VIRTUAL HOST FOR YOUR WEBSITE USING APACHE
Create the directory for prolamp using ‘mkdir’ command as follows:
sudo mkdir /var/www/prolamp
Next, assign ownership of the directory to your current system user:
sudo chown -R $USER:$USER /var/www/prolamp

Then, create and open a new configuration file in Apache’s sites-available directory using your preferred command-line editor. Here, we’ll be using vi or vim (They are the same by the way):
sudo vi /etc/apache2/sites-available/prolamp.conf
This will create a new blank file. Paste in the following bare-bones configuration by hitting on i on the keyboard to enter the insert mode, and paste the text:

To save and close the file, simply follow the steps below:
Hit the esc button on the keyboard
Type :
Type wq. w for write and q for quit
Hit ENTER to save the file
Use the ls command to see the file in the sites-available directory
sudo ls /etc/apache2/sites-available
Output :

We’re telling Apache to serve prolamp using /var/www/projectlampl as its web root directory.
To enable virtual host we need to use :
You can now use the a2ensite command to enable the new virtual host:
sudo a2ensite prolamp
sudo a2dissite 000-default
To make sure your configuration file doesn’t contain syntax errors, run:
sudo apache2ctl configtest
Reload Apache so these changes take effect:
sudo systemctl reload apache2
Now our new website is active, but the webroot /var/www/prolamp is still empty. So we will Create an index.html file in that location so that we can test that the virtual host works as expected:

Copy the public IP and paste it into web URL :
http://<public ip>

Now our code is running fine.
ENABLE PHP ON THE WEBSITE
Enter the below command :
sudo vim /etc/apache2/mods-enabled/dir.conf
the file will be in open mode. Like below

Delete the above code and replace it with the below code :
<IfModule mod_dir.c>
        #Change this:
        #DirectoryIndex index.html index.cgi index.pl index.php index.xhtml index.htm
        #To this:
        DirectoryIndex index.php index.html index.cgi index.pl index.xhtml index.htm
</IfModule>
Save the file and reload Apache. Type the below command to reload.
sudo systemctl reload apache2

Finally, we will create a PHP script to test that PHP is correctly installed and configured on your server.
Now that you have a custom location to host your website’s files and folders, we’ll create a PHP test script to confirm that Apache can handle and process requests for PHP files.
Create a new file named index.php inside your custom web root folder
Open this directory /var/www/prolamp and add below code :
<?php
phpinfo();
Now refresh url you can see php page.
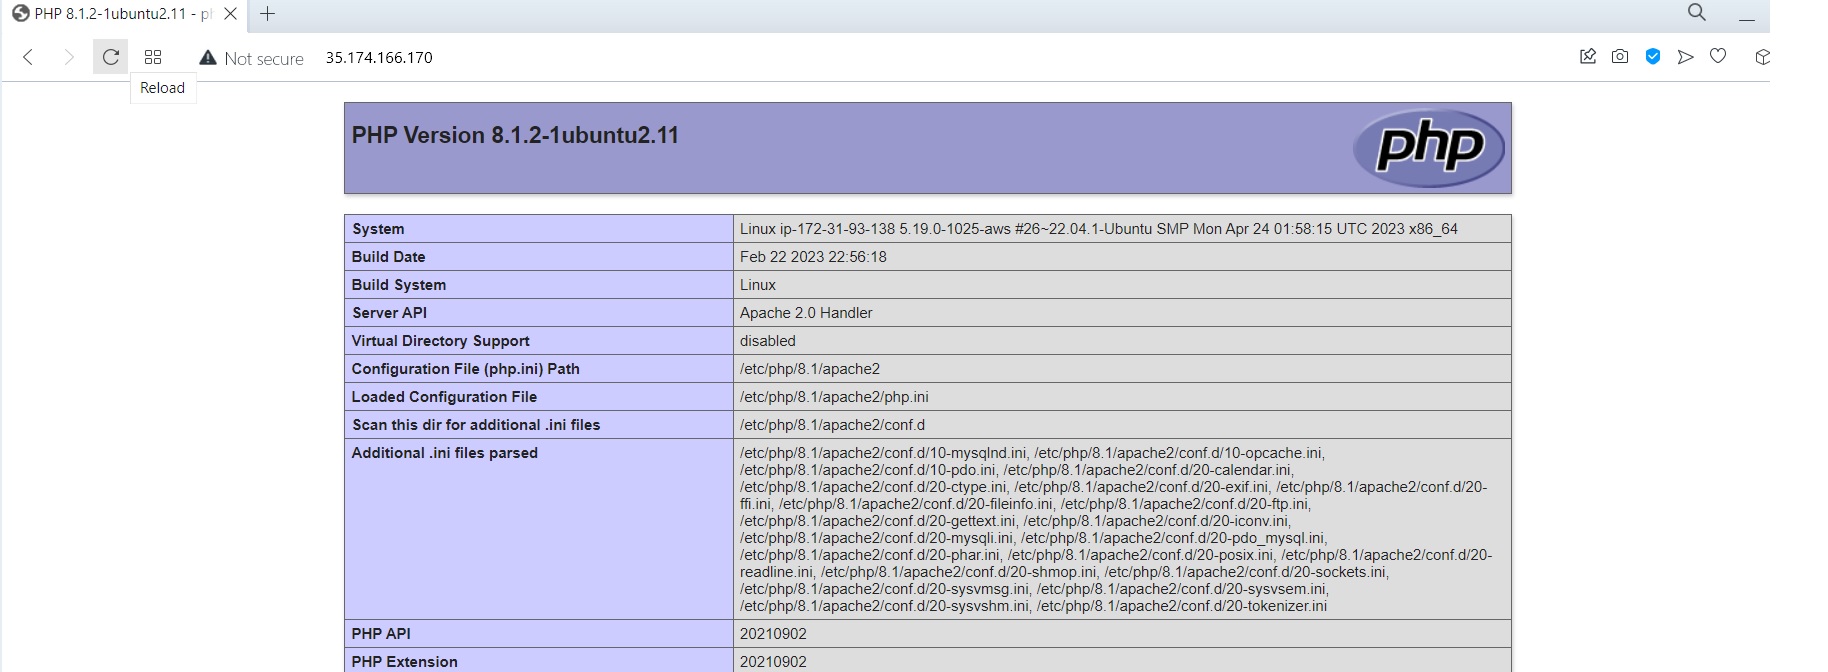
If you are seeing this page means you have successfully deployed the LAMP stack website in AWS Cloud!
I hope you would like this blog.
My GitHub account link:https://github.com/parimal007/DevOps_Project_2023.git
Thank you for reading this blog.Happy Learning!!!!!
You can follow me on LinkedIn for my daily updates:- linkedin.com/in/parimal-pradhan-b62021168


